|


Airbag Replacement and Dash removal
DIY
Below
are some pictures and tips I wrote for removing and replacing
the airbags in 2000, 2001 and 2002 Model Years of the Toyota
Echo. Might be same for later year Echo's as well. You must remove the entire top portion of the dash
in order to replace the passenger side air bag.
Unfortunately the Echo did not have the sensor in place to
determine if someone was sitting in the passenger side, so if
the driver's side deploys so does the passenger. There are a few
pictures I forgot to take and I did not make note of all the
sizes of sockets and Torx bits you need, but you can find those
out by trial and error. Before you begin you MUST
disconnect the battery before attempting anything regarding
airbags. How do you remove and replace them? Here it goes:
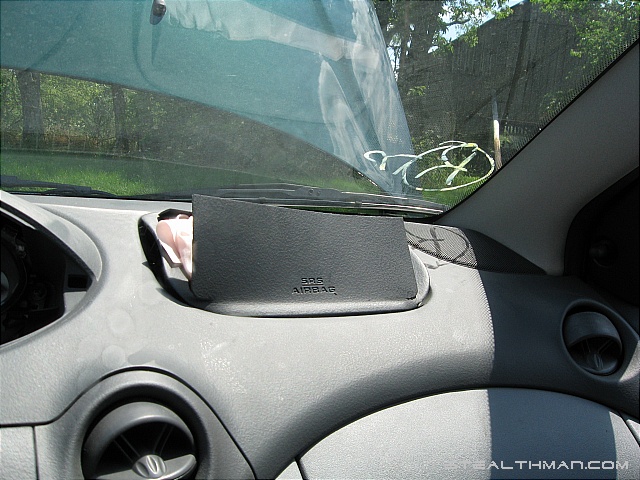
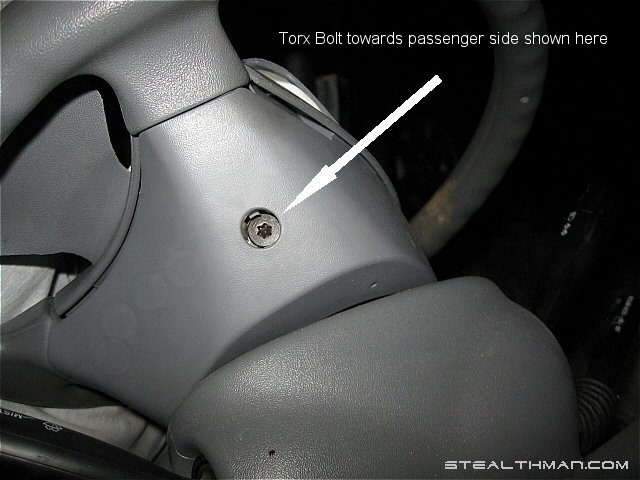
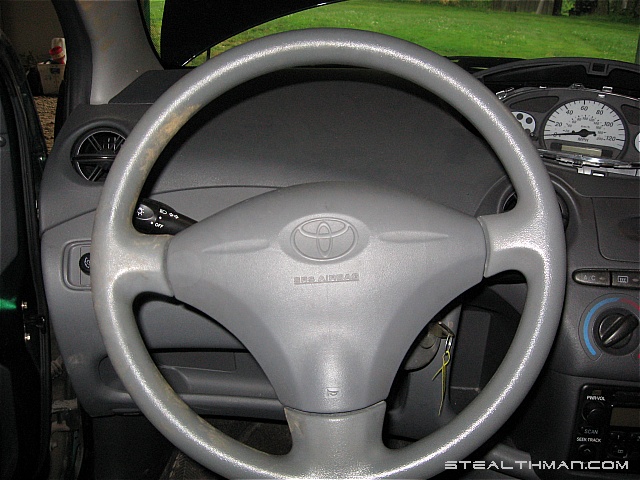
Here is
what you might be faced with:
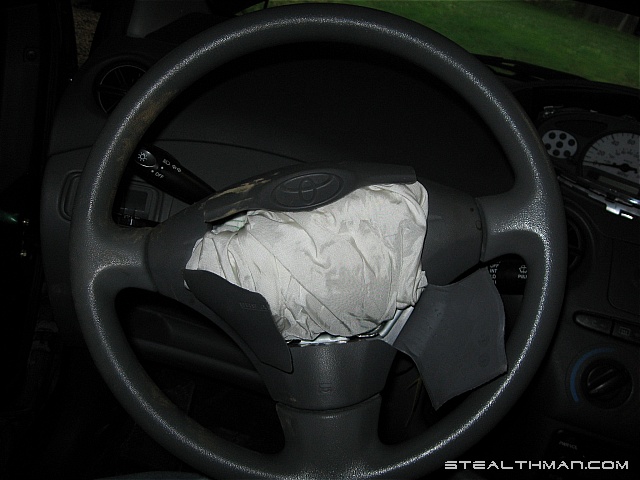
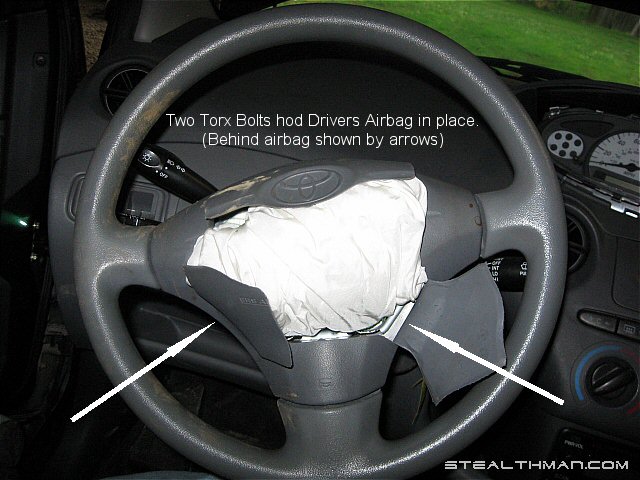
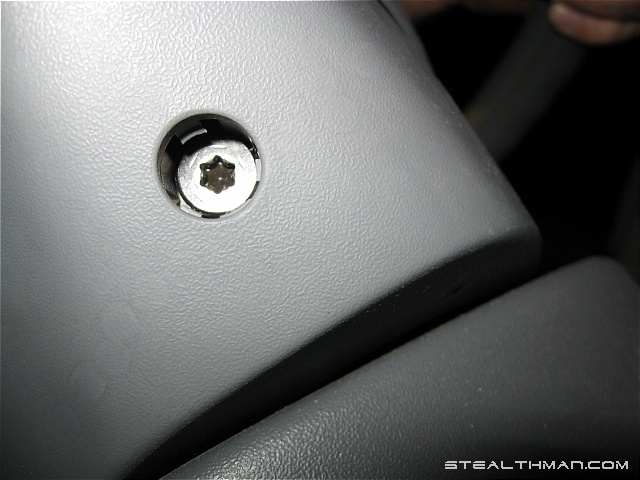
You only need to remove the two Torx bolts on the
either side of the back side of the driver airbag. These don't come
completely out without force so feel free to leave them attached to the airbag
once loose unless you need them for your new one.
Once loose the airbag comes right off. You
will need to disconnect the two yellow wires connecting the airbag to the
steering column. Once removed, simply reverse the steps and attach your
new airbag!
To begin removing the passenger side airbag.
Start with the center console.
The center console plastic simply pulls straight
out with no tools required
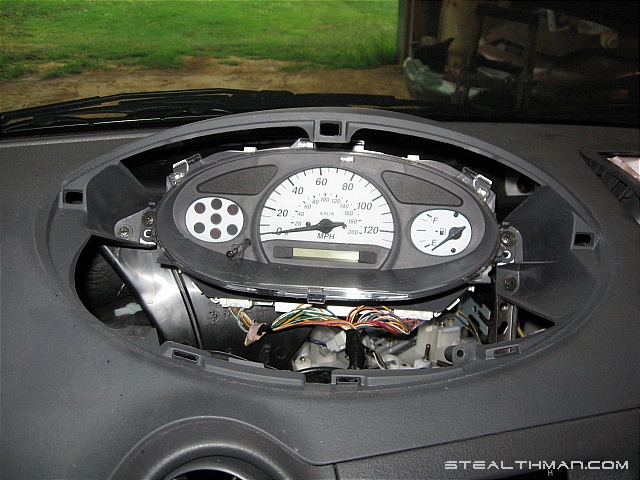
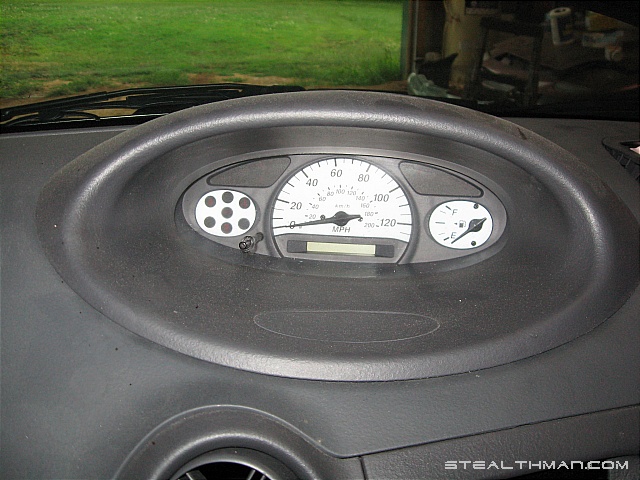
Remove the four Phillips head screws shown below.
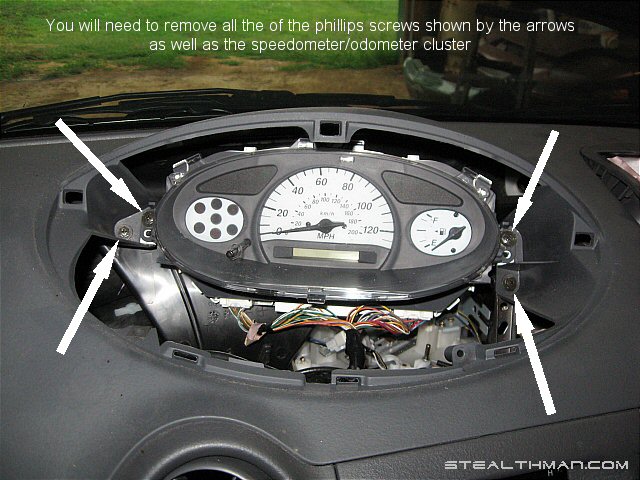
Unplug the two wiring plugs by depressing the tabs
and remove the cluster.
Remove the lower glove box by simply squeezing the
sides together to clear the tabs to allow the glove box to swing down and drop
it off.
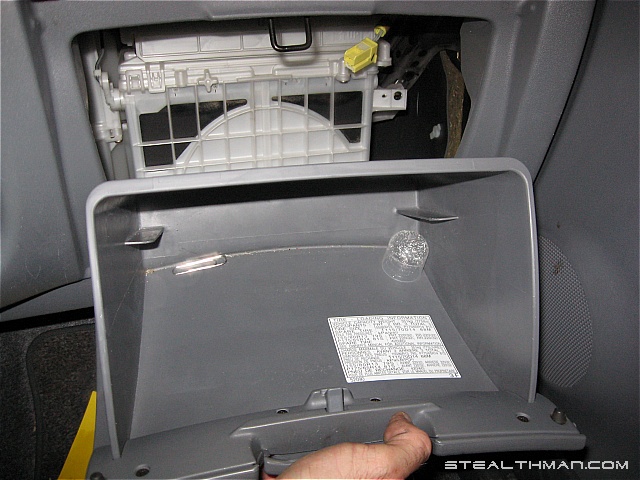
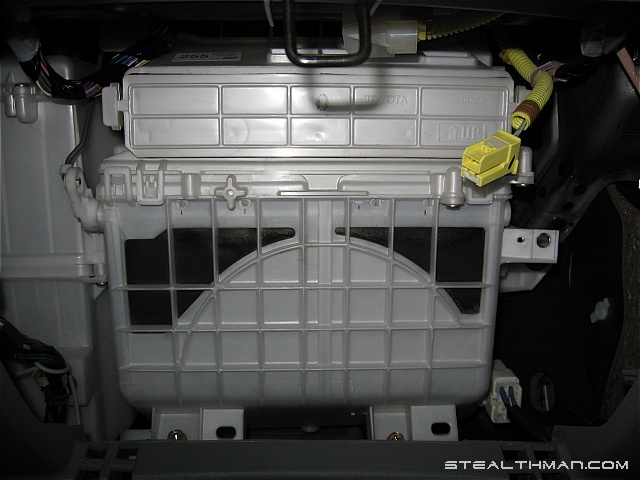
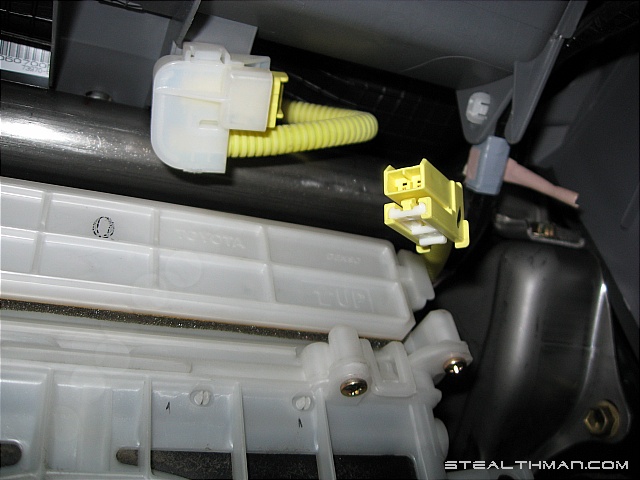
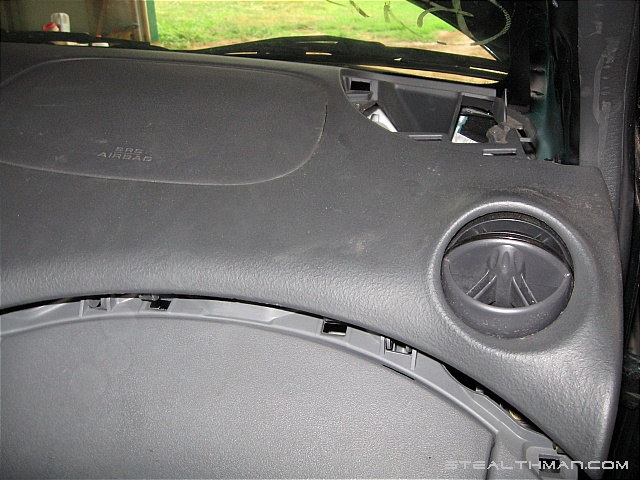
Look up under the dash after removing the glove
box and you will see the yellow passenger side airbag plug. You will need
to unplug this
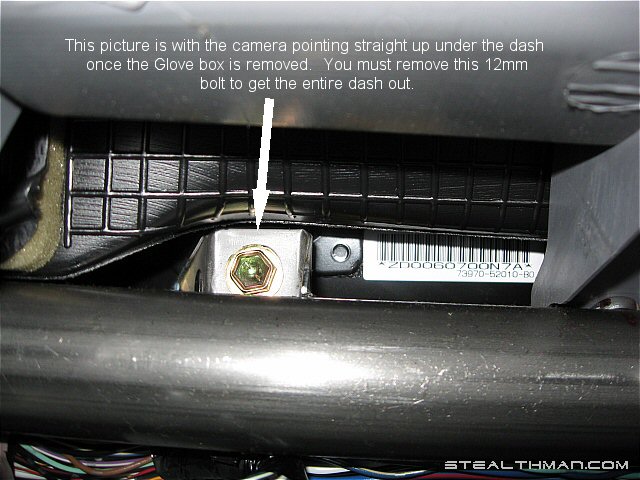
You will have to look upside down up under the
dash to see the 12mm bolt you must remove to allow the top part of the dash to
come off to remove the airbag. You will need an extension to reach this
bolt.
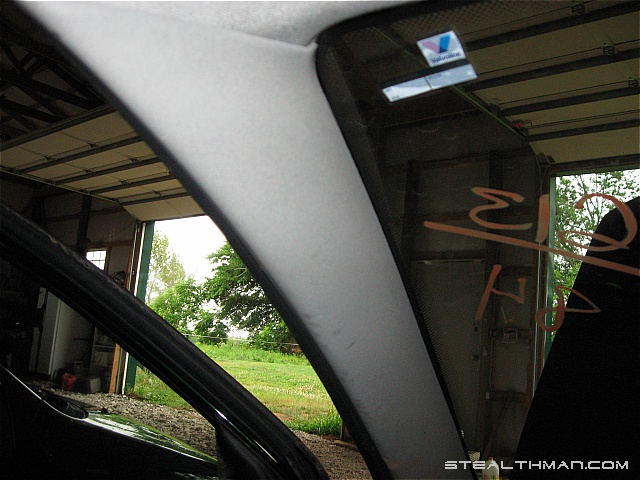
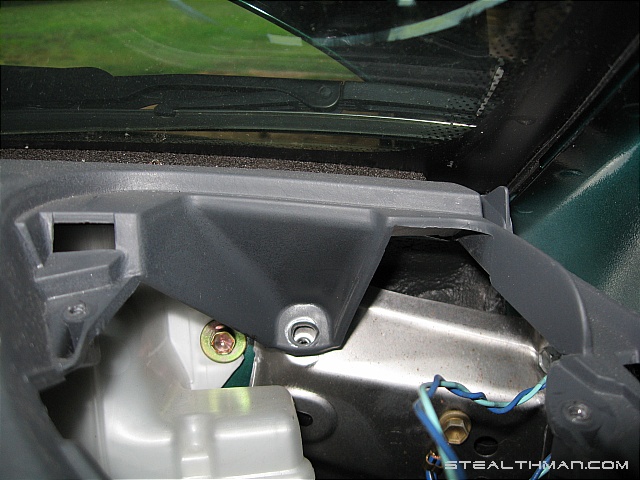
Next remove the plastic trim from both sides of
the "A" Pillar. Gently pry these away by hand if possible using car not to break
the clips that hold them in place.
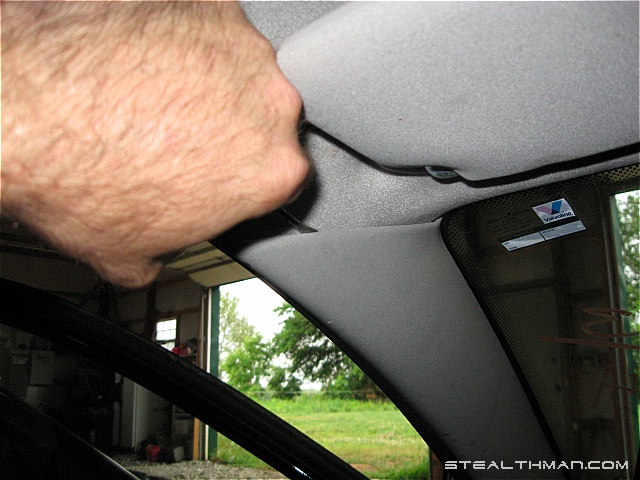

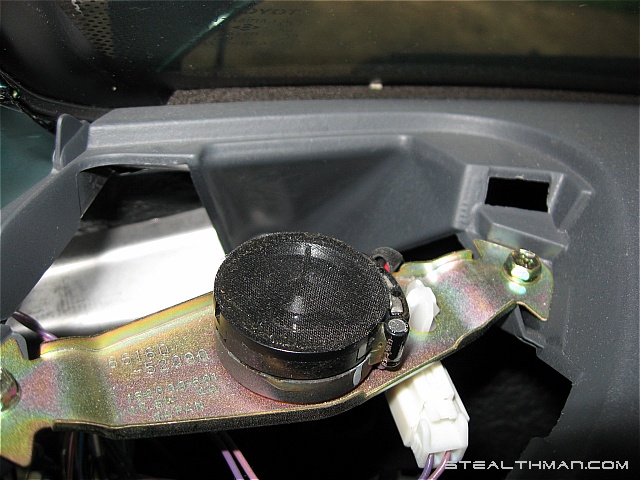
Next remove the front speaker grilles by gently
prying up on them by hand.

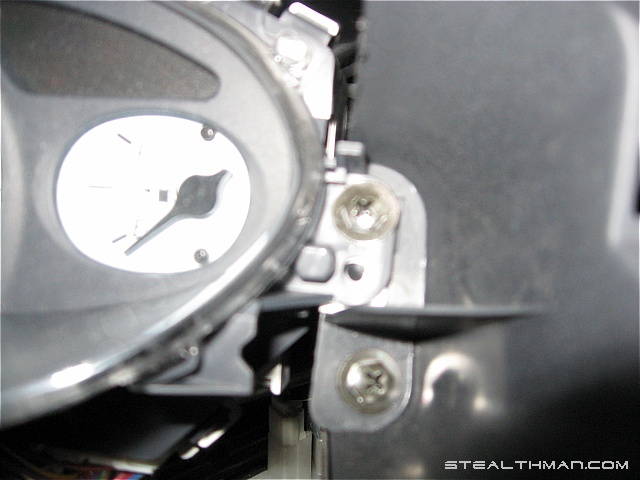
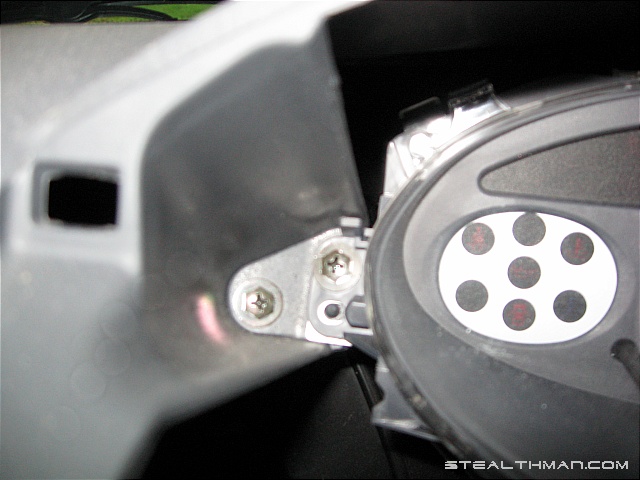
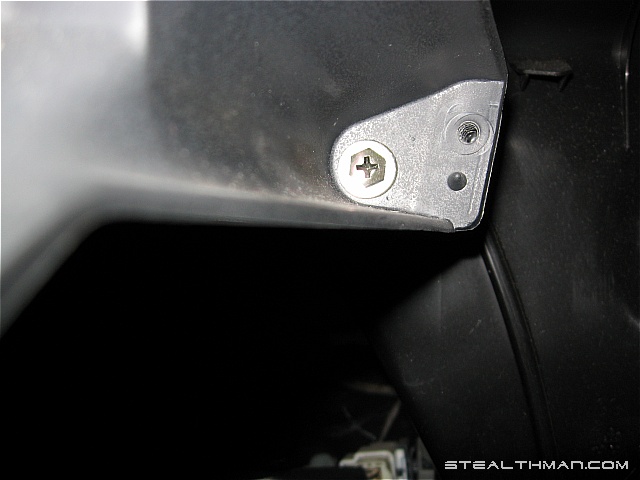
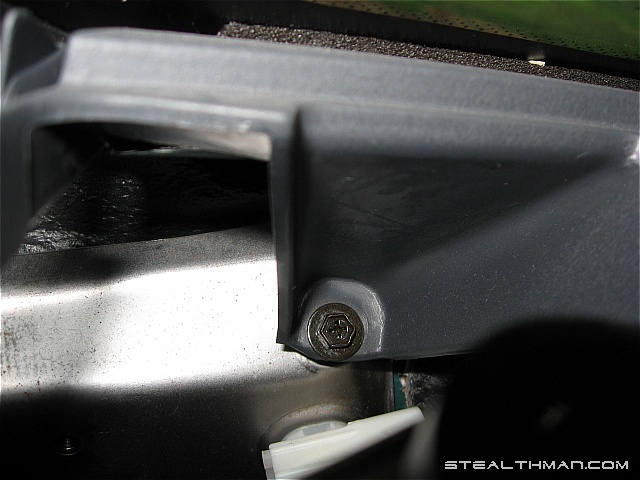
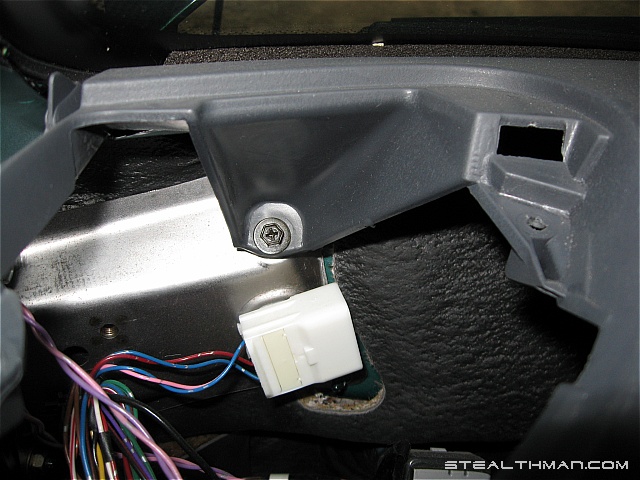
There is a 10mm Phillips head screw on both sides
of the dash that needs to be removed. It is possible to remove them by not
removing the speakers, but I found it much easier to to just remove the speakers
and take out the screw. Not to mention you lessen the possibility of
loosing the screw down in the dash. Shown below is the speaker removal and
the bolt I am talking about.

Now on the front
of the console. You do not need to remove the front of the
console, Only pull it out enough to release the clips that hold
the top of the dash in place. You do not need to remove
the trim plate around the radio although one of my photos below
show that trim plate removed.
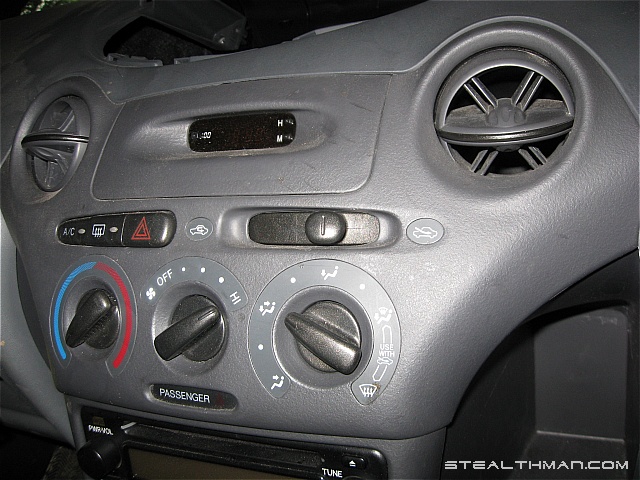
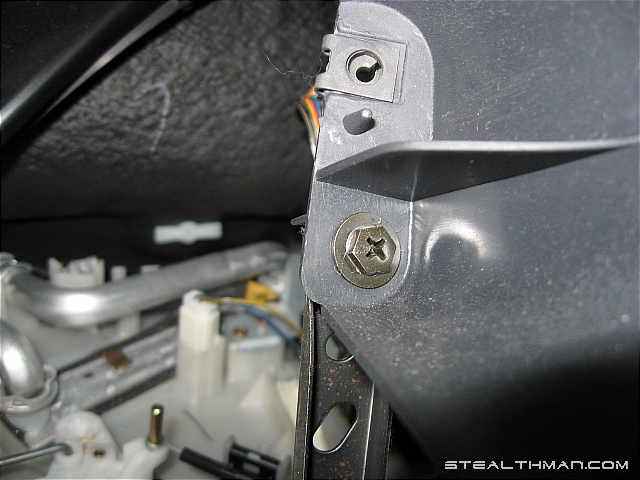
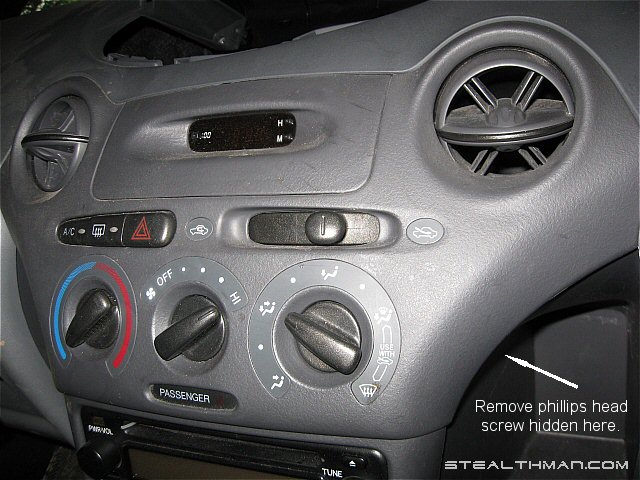
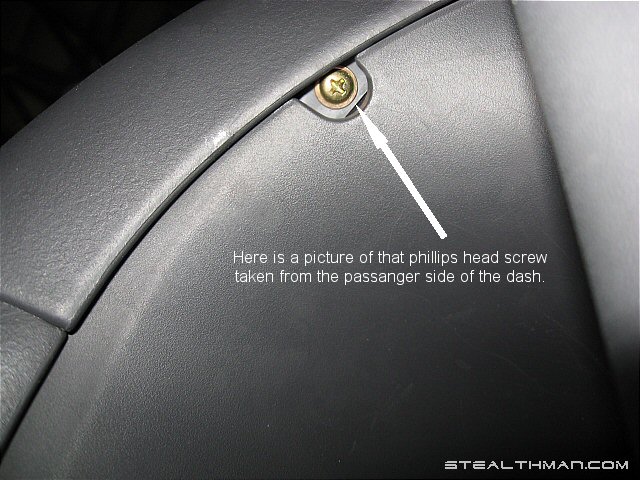
There is a small gold Phillips head screw to the
right of the center HVAC Console that you must remove. There is not one on
the left, only the right.
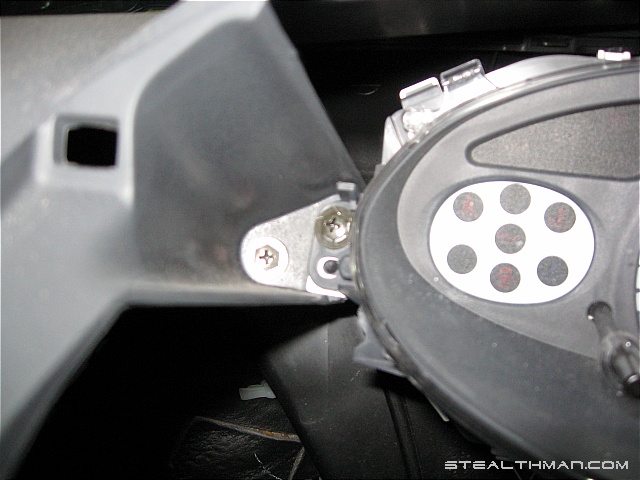
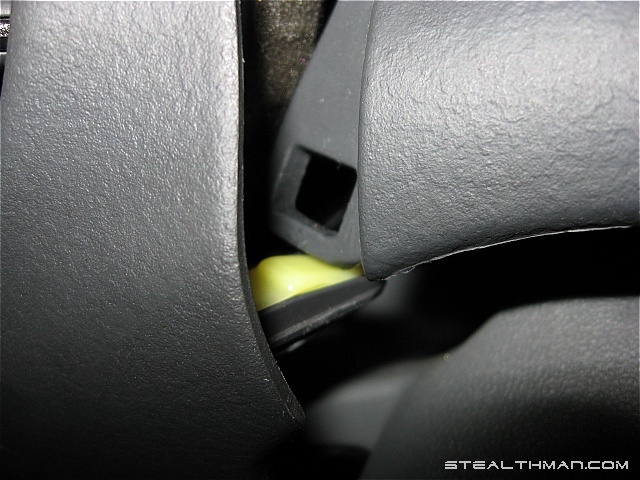
Gently begin to pry the dash forward enough to
release the clips that hold it in place. There are also two white clips
that I can not show in the photos about halfway down in the middle that need to
be depressed from the top with a flathead screw driver in order to get the HVAC
Console to fully release.
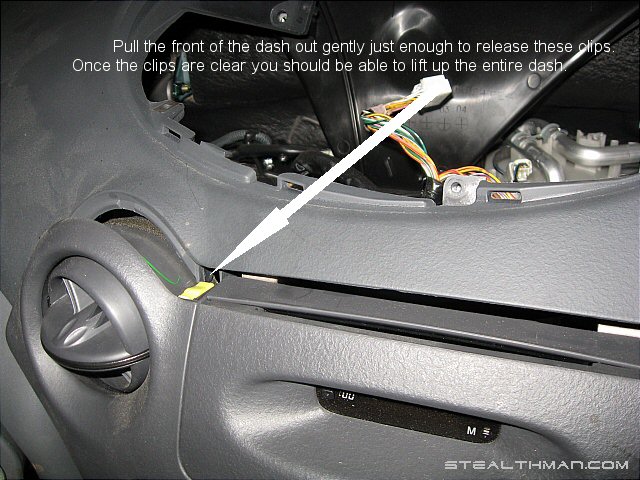
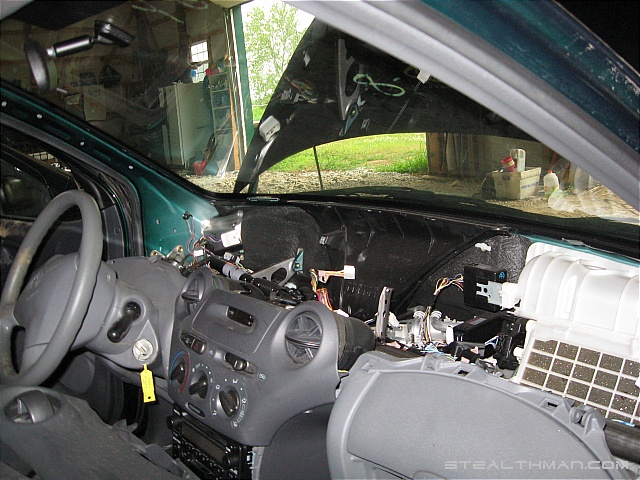
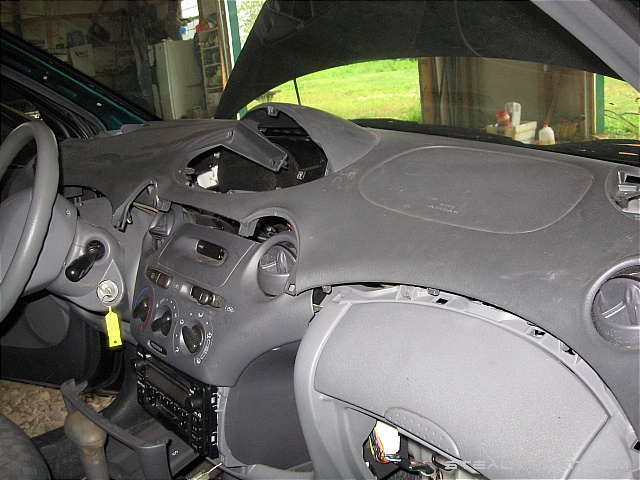
Once you have the HVAC Console pulled far enough
out you should be able to lift up on the entire dash and remove it. It
will look like so:
Now simply replace the entire dash or your airbag
module to the old dash and reverse the entire procedure.
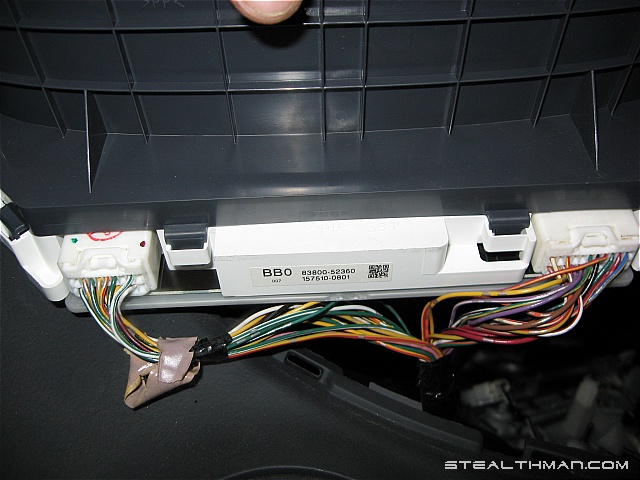
One last thing to mention. In order to
completely restore the car to normal after an airbag deployment, you will need
to replace the airbag control module located under the center of the dash below
the radio. It is mounted to the transmission hump in the floor with 4 gold
Torx bolts. You will also need to replace both front seat belts since the
airbag control module tells them to lock up once a deployment is detected.
I hope this helps some of you! If you have
any suggestions or corrections, please feel free to email me below:

This Site was last updated on
02/01/18.
|
